I recently upgraded an HP Envy 4 to a 250GB SSD drive and Windows 8. Overall it went really well and the Windows 8 standard install picked up all of the core drivers (video, network). I had to download the driver pack from the HP site to get the touchpad driver working correctly.
I’ve put some steps below on how to change the hard drive in the system.
- Remove all the screws from the back. There are none located under any stickers or the rubber feet.
- I used a butter knife (some people use a guitar or other pick) to very carefully pry the cover snaps up. Start at the front not the back. The only 2 tricky ones are the 2 front corners that require a bit more force and then the cover easily snaps off.
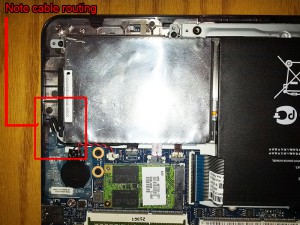
- Carefully remove the SSD connector from the back of the drive. Be very careful to not kink the thin cable, and make note of how the cable is routed, since it has to go back this way for the cover to close again.
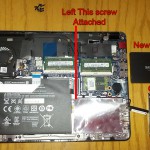
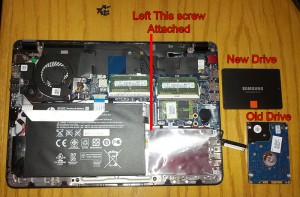
- I removed only 3 of the screws that hold the drive chassis (which is really just a tin foil cover for the most part) in place. The one screw is under the battery and since the fewer ribbon cables to remove the better I left it in place. (see image below)
- Remove the 4 screws that hold the drive in the chassis. Make sure and keep these separate from the screws that mount the chassis to the case, since even though they look the same are a different thread.
- Remove the old drive and insert the new SSD drive, remember that it goes in upside down just like the one you removed.
- Carefully put the 4 drive screws back in.
- Put the 3 chassis screws in. don’t over tighten.
- Put the SSD connector back in and be careful to route it correctly and tuck it back under the corner of the board or the case will not go back on correctly. (see image below)


No comments yet.