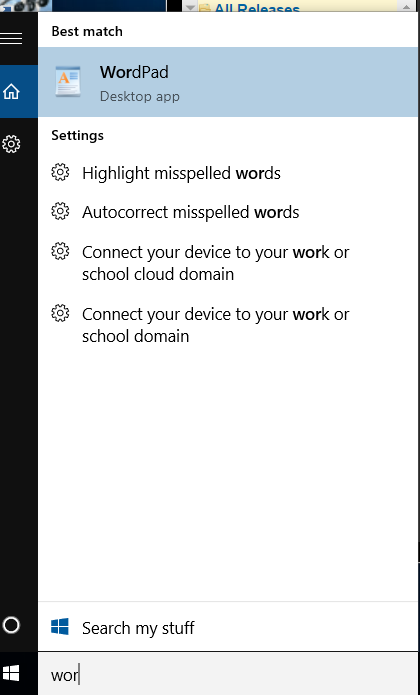
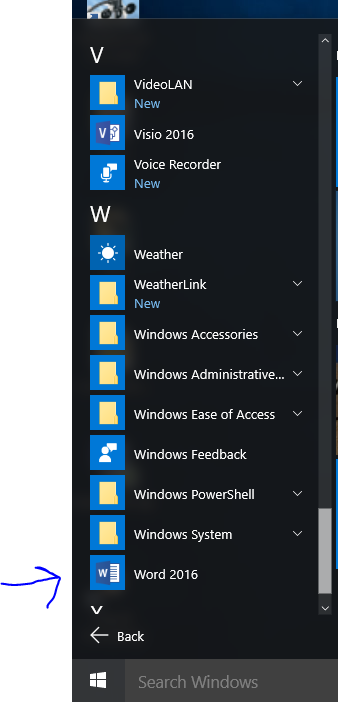
To prefix this fix with a bit of a rant; I am not sure how Microsoft, which overall I quite like as a company, can consistently do such an awful job of their search system in Windows. The Windows search is slow, consumes huge amounts of system resources indexing files, and rarely provides the results I am looking for. Indexing and searching a list of files is one of the most rudimentary programming tasks in existence, and how Microsoft has turned it into something so inefficient is beyond me. I gave up on using the built in Windows search years ago, and instead use a free program called “Search Everything” for searching. Unfortunately in Windows 10 the search is integrated right into the main start menu, and almost unbelievably doesn’t seem capable of finding installed programs correctly. For example in the screen shot below I have Microsoft Word 2016 installed on a Windows 10 system (its been running for over a week, so lots of time to index anything required). Typing in “word” yields no Word 2016 application found, but of course if I look in “All Apps” it shows correctly. The same thing happens for “Excel”, “powerpoint” and any other application I have installed since the initial load.
The solution for this is far more complex than it should be, but it worked for me:
First create a powerscript file with a command to manually insert your applications into the search system:
1 – Create a file called something like fixsearch.ps1 using notepad in your users folder and paste the following command into it:
Get-AppXPackage -Name Microsoft.Windows.Cortana | Foreach {Add-AppxPackage -DisableDevelopmentMode -Register “$($_.InstallLocation)\AppXManifest.xml”}
2 – Save the file
3 – Add a scheduled task to run the file each night to keep your search up to date with new applications. You also can open powershell (using the run as administrator option) and run the above command to immediately update your search menu.
Go into “Task Scheduler”
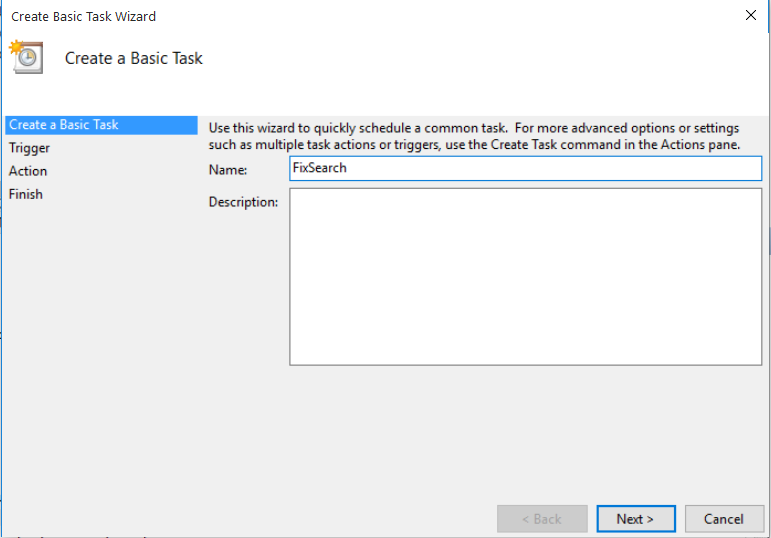
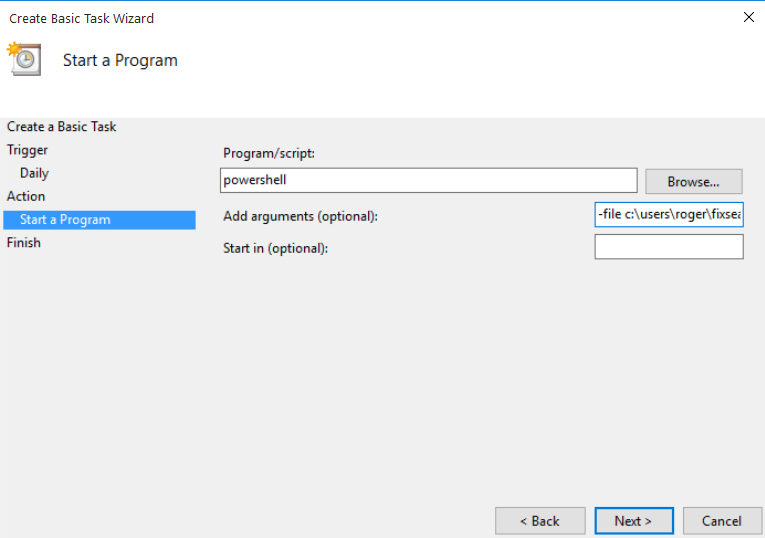
Create a new Basic Task
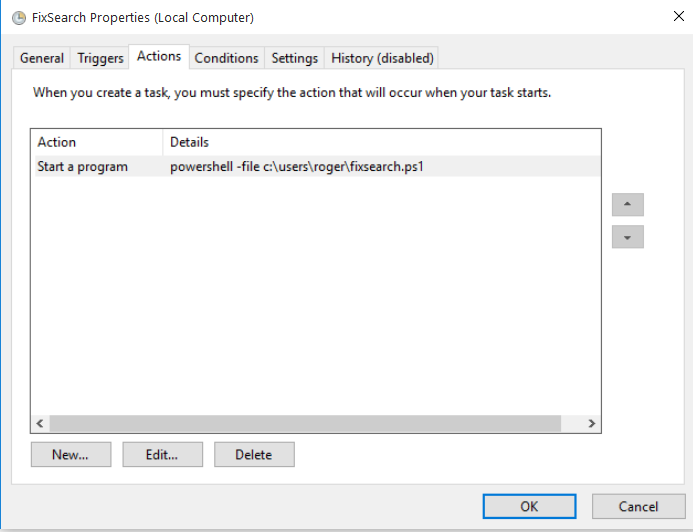
When prompted for the program and arguments put in “powershell” as the program and “c:\users\<your user folder>”\fixsearch.ps1” for the argument (this is the path and name of the file you created in step 1).
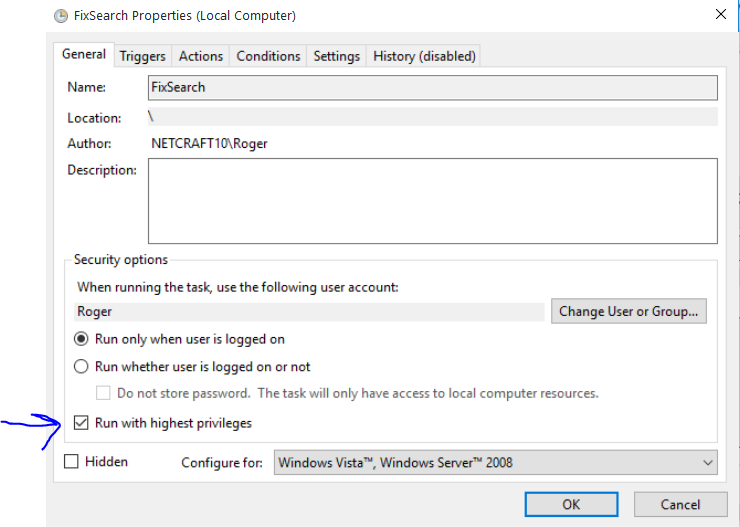
Once you have created the task go into properties and check the “run with highest privileges” option.
Some screen shots are below of the process. You can also google “window task scheduler” for more detailed instructions on creating a scheduled task.
If your task does not run correctly you may need to enable powershell scripts. To do this run powershell with the “run as administrator” option and enter the following command:
set-executionpolicy remotesigned


You just made my day. Worked perfectly.
How is this different from running the command directly from Powershell?